Natural Dyeing with Marigolds
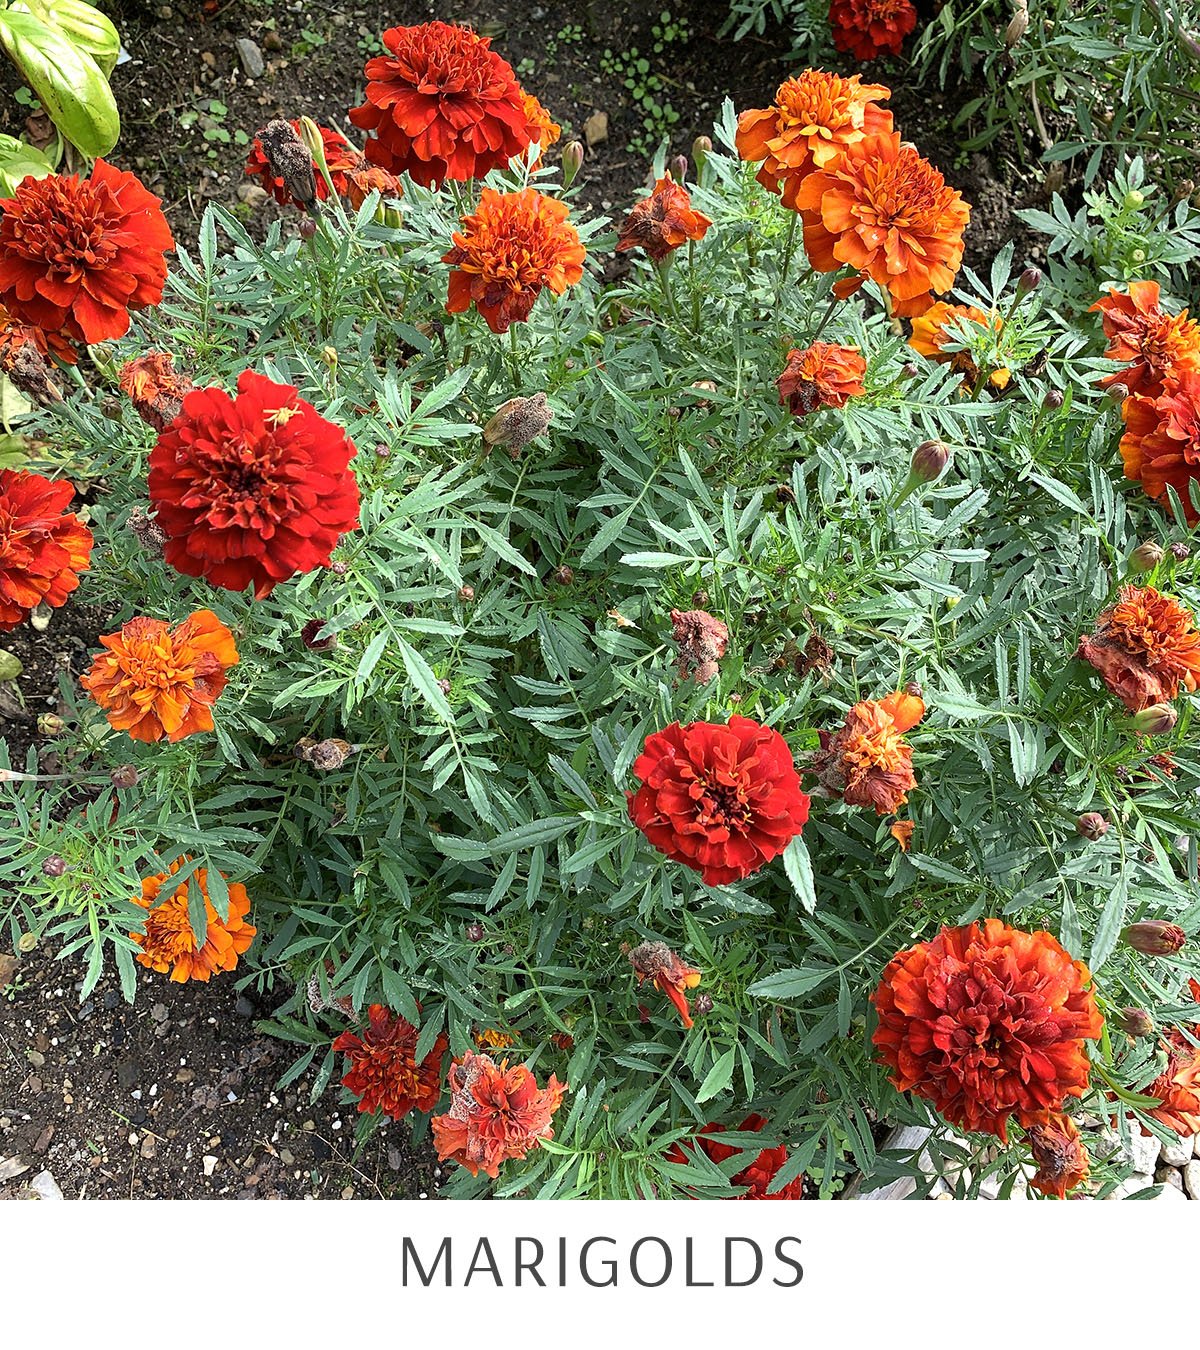
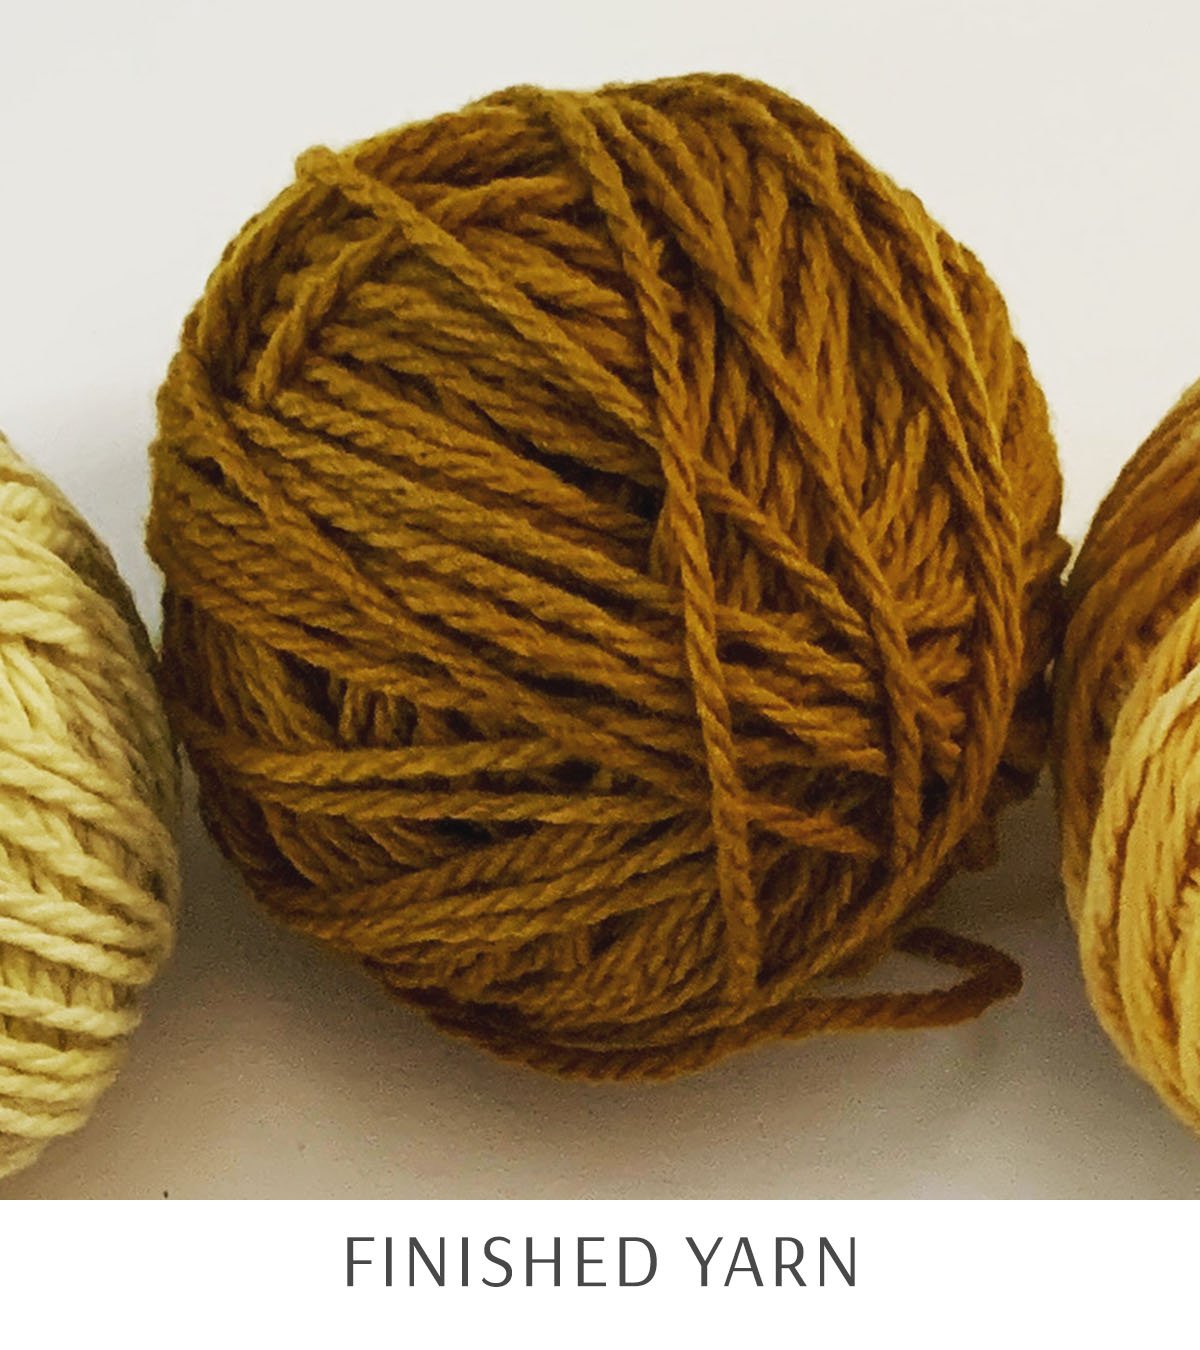
Marigold dyeing is one of my favorite things to do in the fall. Every year I plant a vegetable garden and adding marigolds helps keep out some of the pests. They also add beautiful colors of yellow, orange, and gold to the garden.
When the weather gets a bit cooler and the garden is spent, it is a great time to harvest your marigolds and use them to dye some fabric or yarn.
It is super easy and a great project for kids. Here are a few rules to follow when dyeing with marigolds:
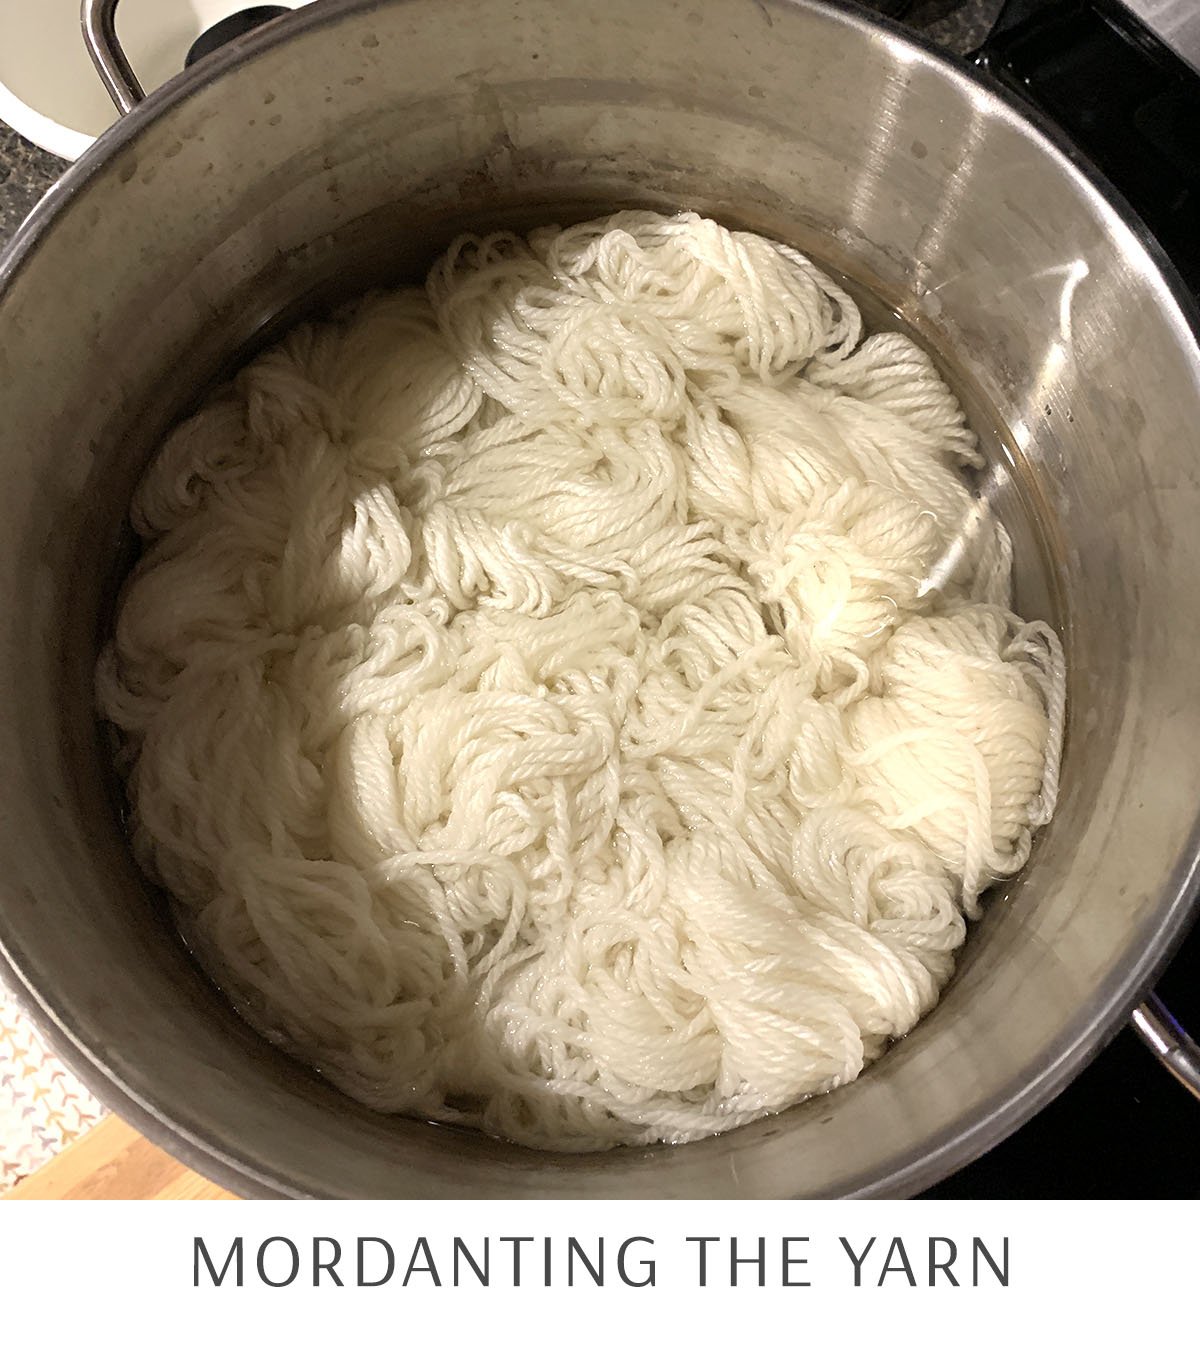
Prepping:
Mordant your yarn or fabric. You can learn more about mordanting at Botanical Colors website.
Gather your marigolds, pick the flower heads. You can pick all one color or do a mix. This particular dyeing was a mix of all the colors in the photos below.
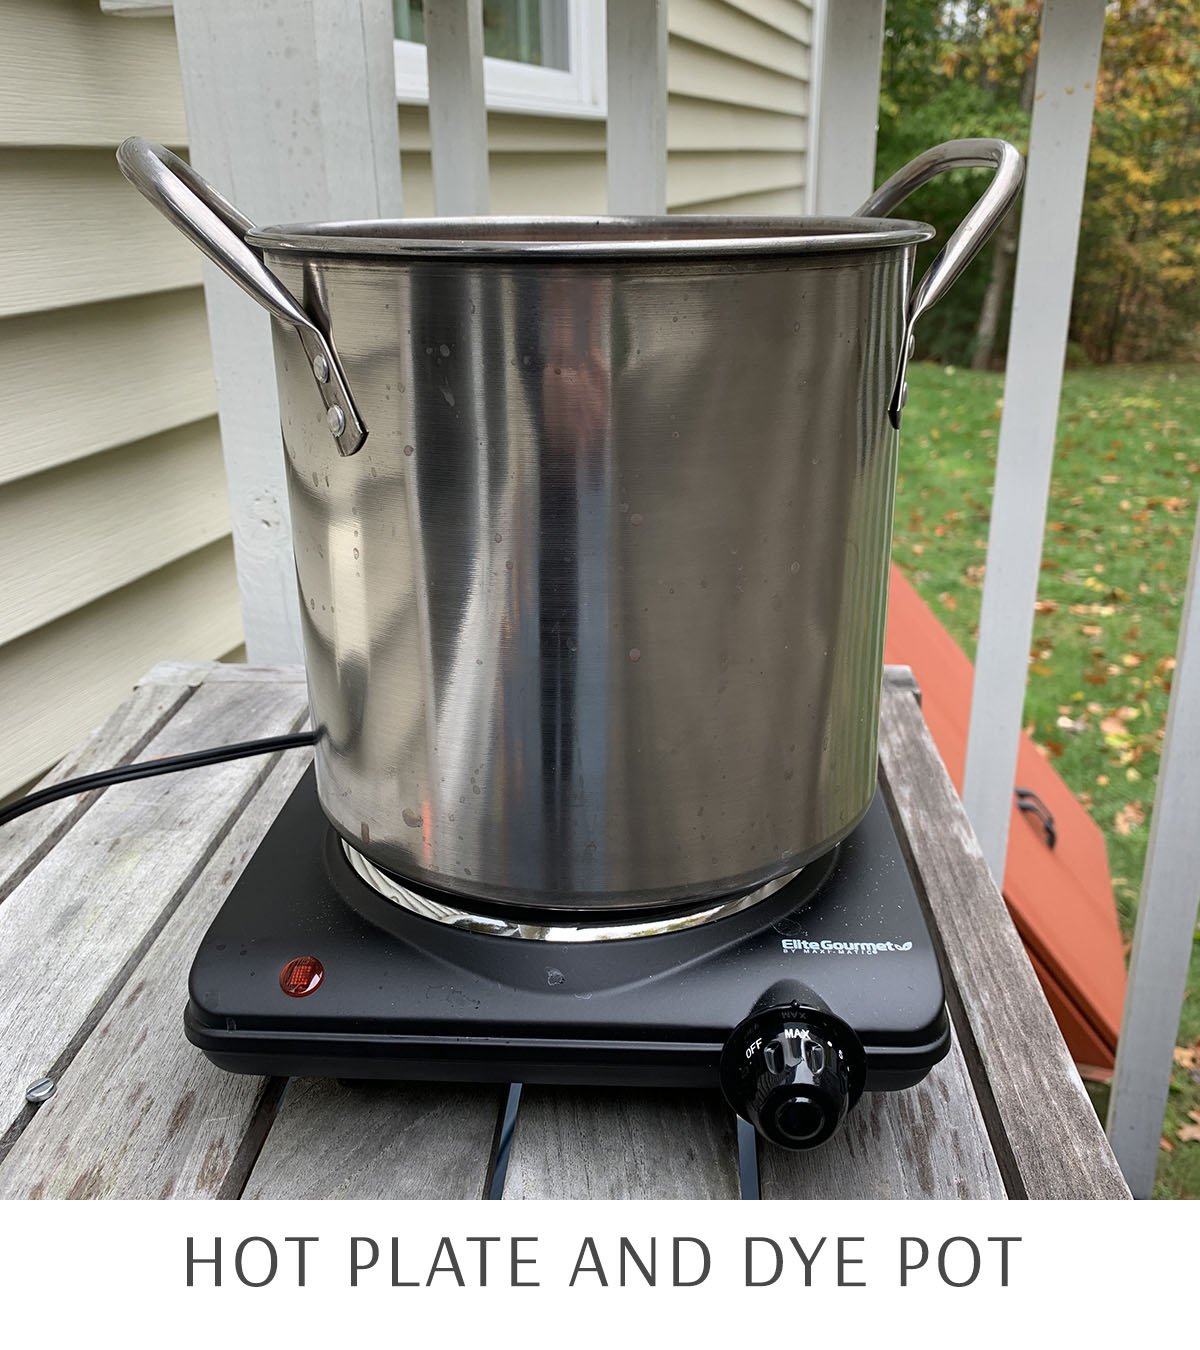
It is best to do this outside and can be done with a simple hot plate.
Use a pot that is not used for food. This pot should be allocated only to dyeing.
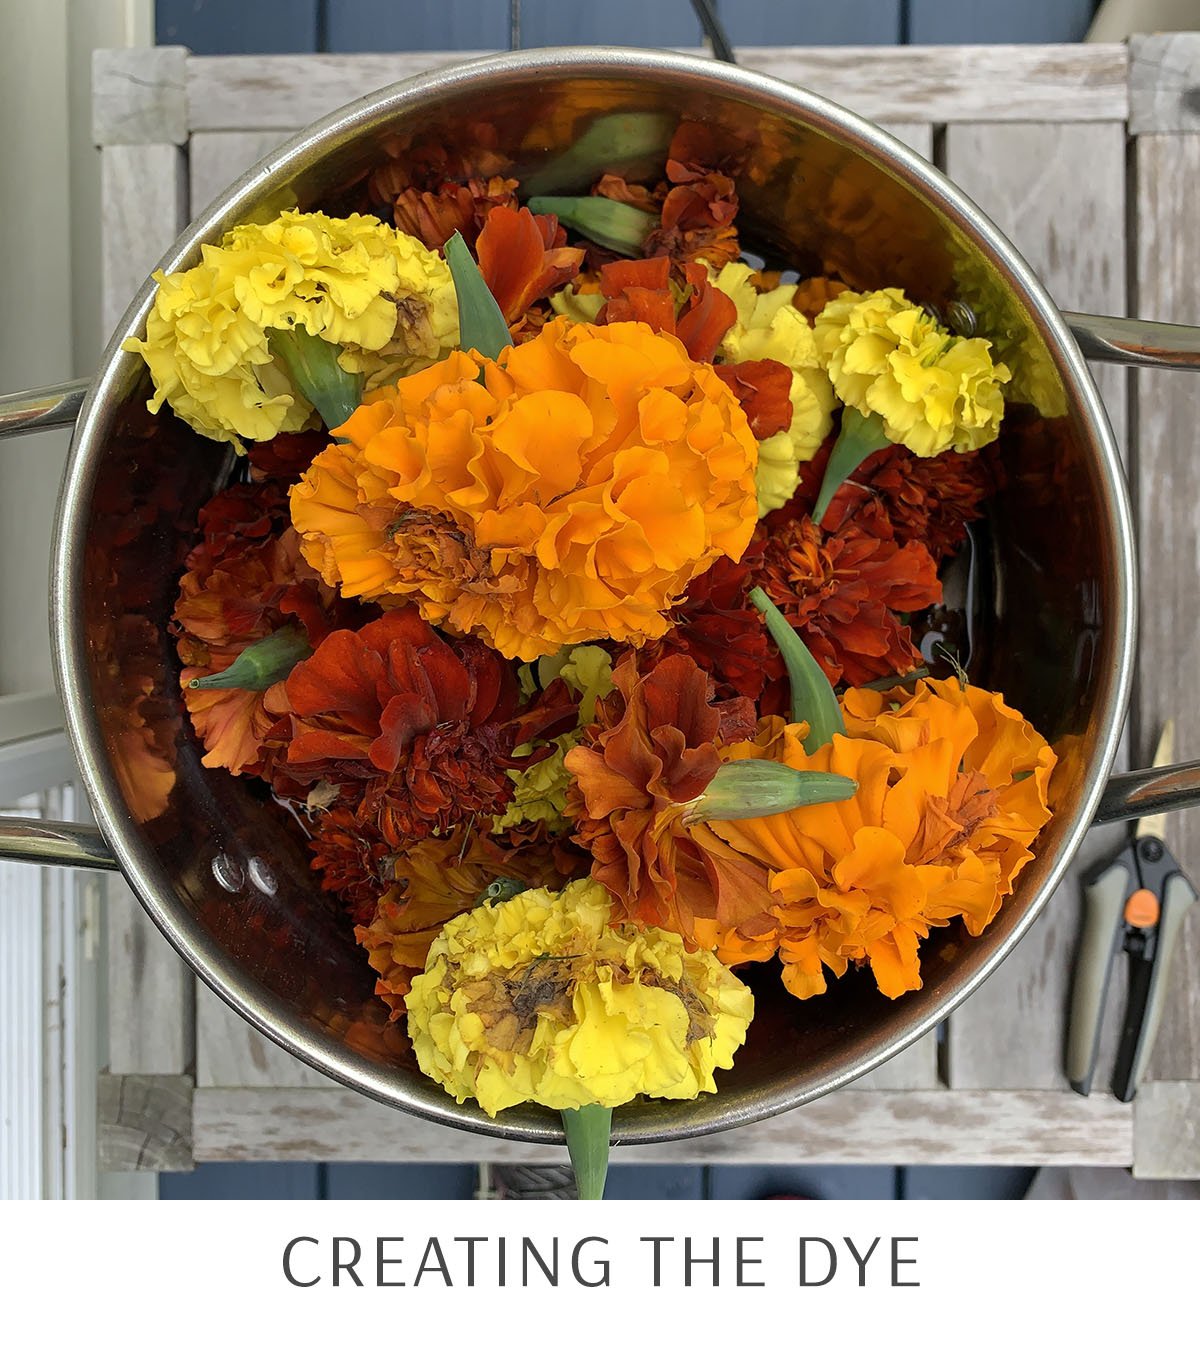
Creating the Dye:
Fill the pot with water and add the flower heads. Add as much water as you will need to dye your yarn, enough that the yarn can comfortably move around in the water. This will help with any uneven dyeing, unless that is your desired look, which can also be fun.
Bring the water slowly to a boil, then reduce the heat and let it simmer. The longer it simmers the more color will be extracted from the marigolds. I let mine simmer for about 1 – 2 hours. Sometimes after an hour, I will turn off the hot plate and let it just sit for another hour.
Remove the marigolds from the pot.
Dyeing the Fabric:
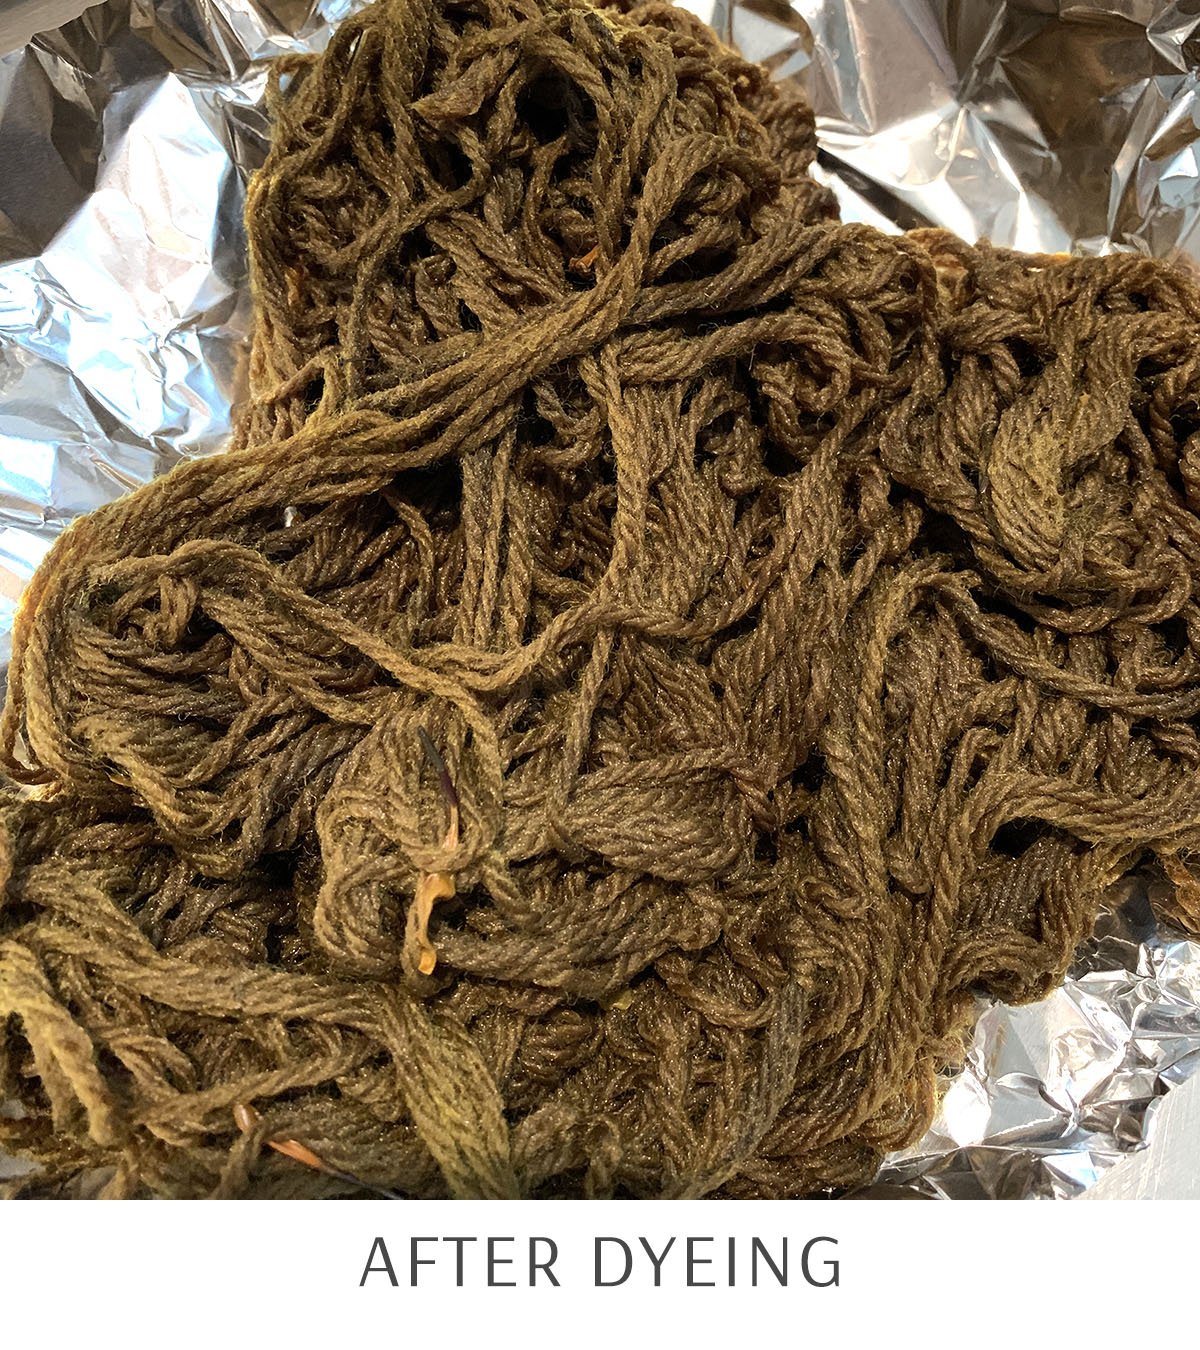
Add your yarn or fabric and bring the water back to a low heat and let simmer.
Keep your yarn or fabric in for as long as you want unit you achieve the depth of color desired.
Remove your yarn / fabric and rinse until the water is clear.
Most of all have fun and experiment.